

Contents
Libraries are an integral part of development that no developer can imagine working without. They help you accelerate your development speed by orders of magnitude through allowing you to use a ready-made solution instead of writing all that code yourself. But what if you have a nifty feature you want to share as a library with the world? In this tutorial, we will go through how to create and distribute an Android library, so you can host it publicly or privately on your own.
If you are an Android engineer you are probably already aware of how to create a sample project. This project will be used later to test your library in development and after being published.
If you are new to Android, you can follow these steps:
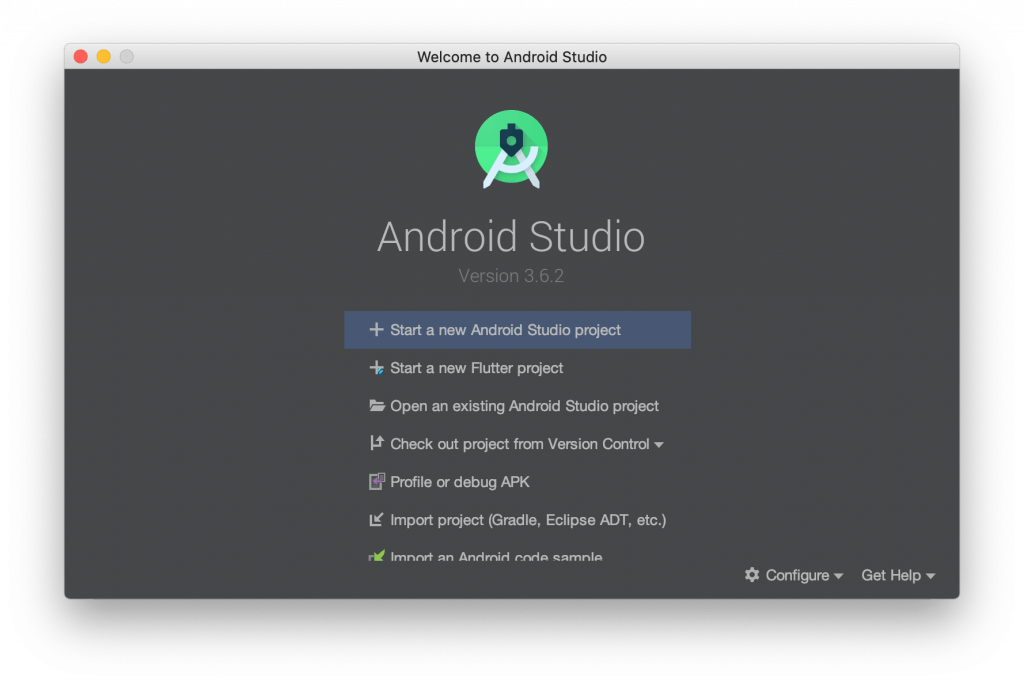
- Open Android Studio → Start a new Android Project.
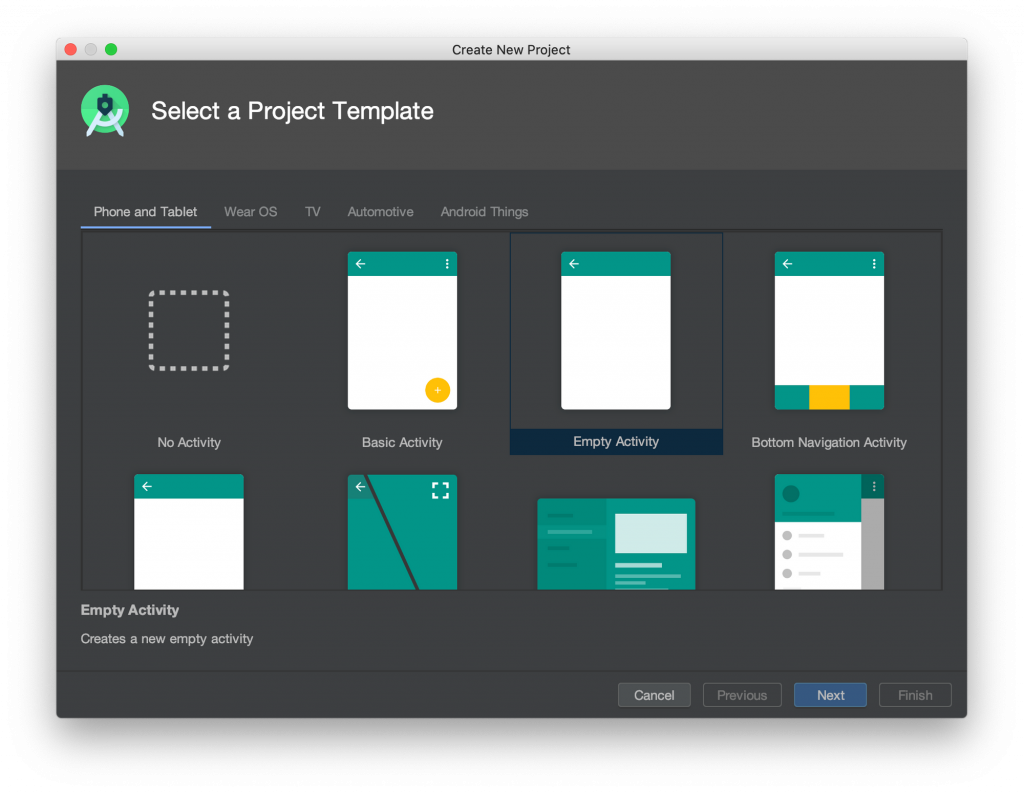
- Select Empty Activity → press Next.
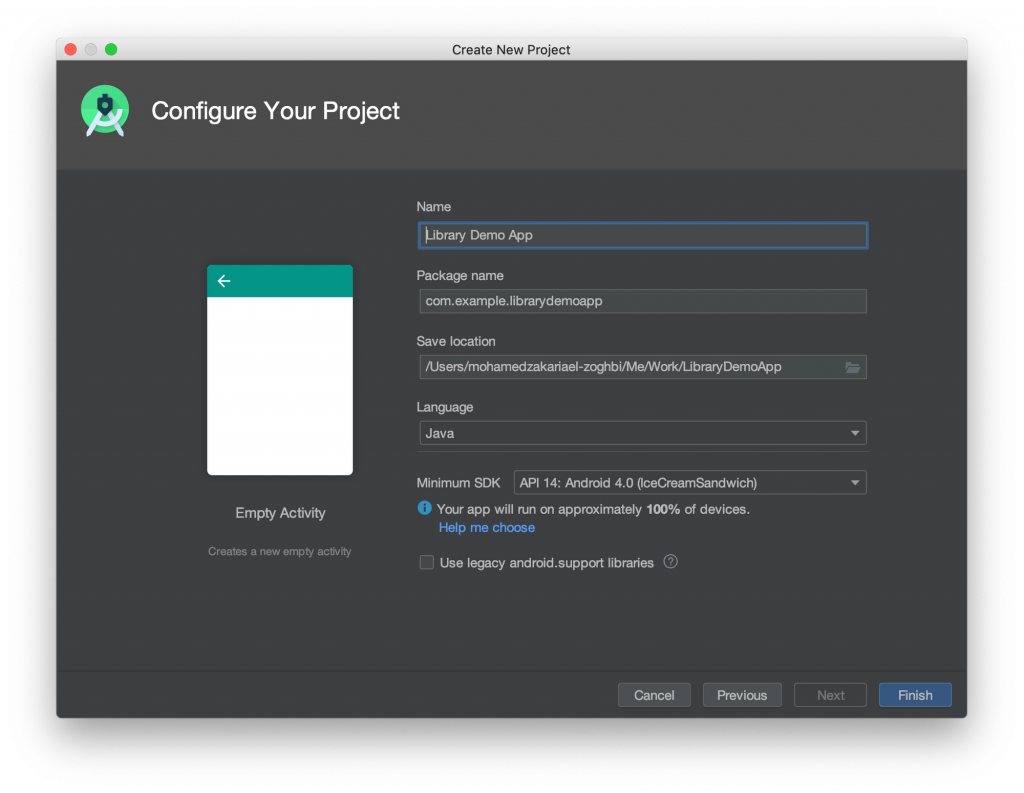
- Enter your Application name, package name & location to save.
Finally, you have created your sample app and should see something like this.
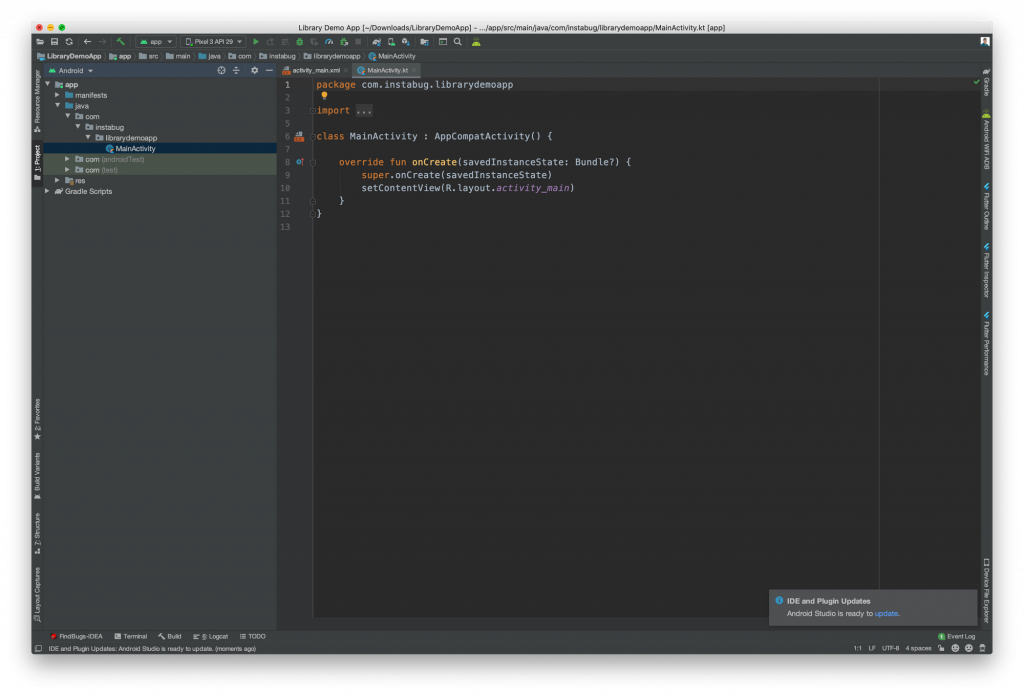
Now that you have created the sample app, let's move on to the next step.
- From the File menu → New → New Module

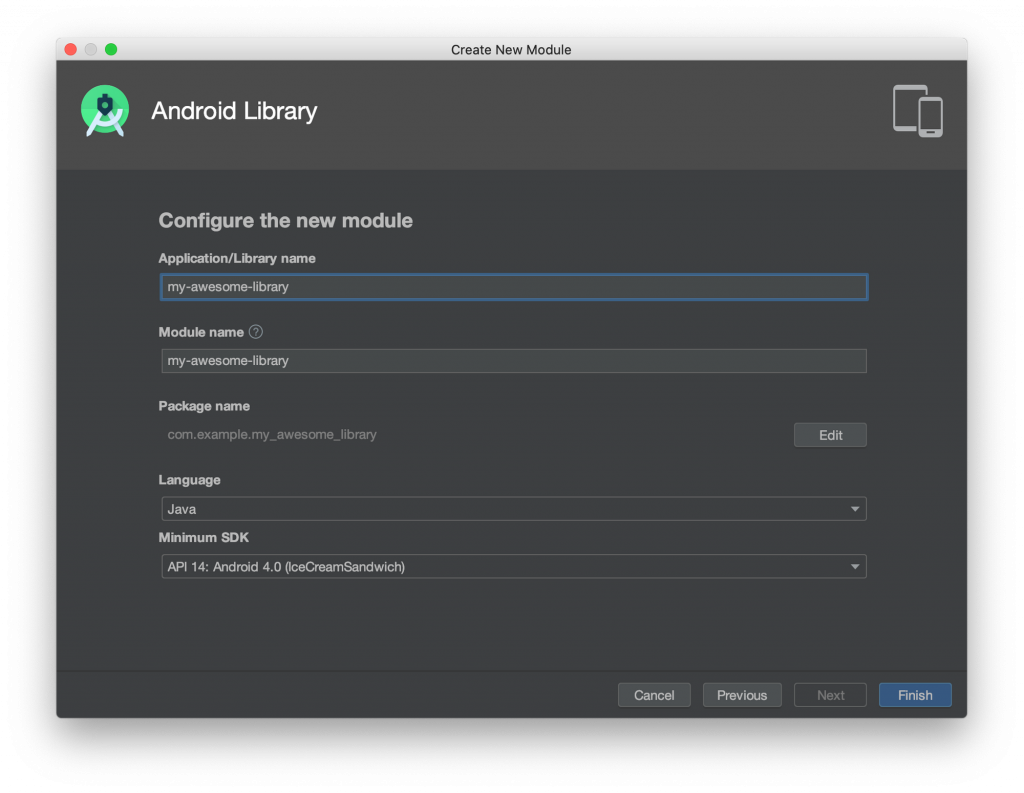
- Select Android Library → Next.
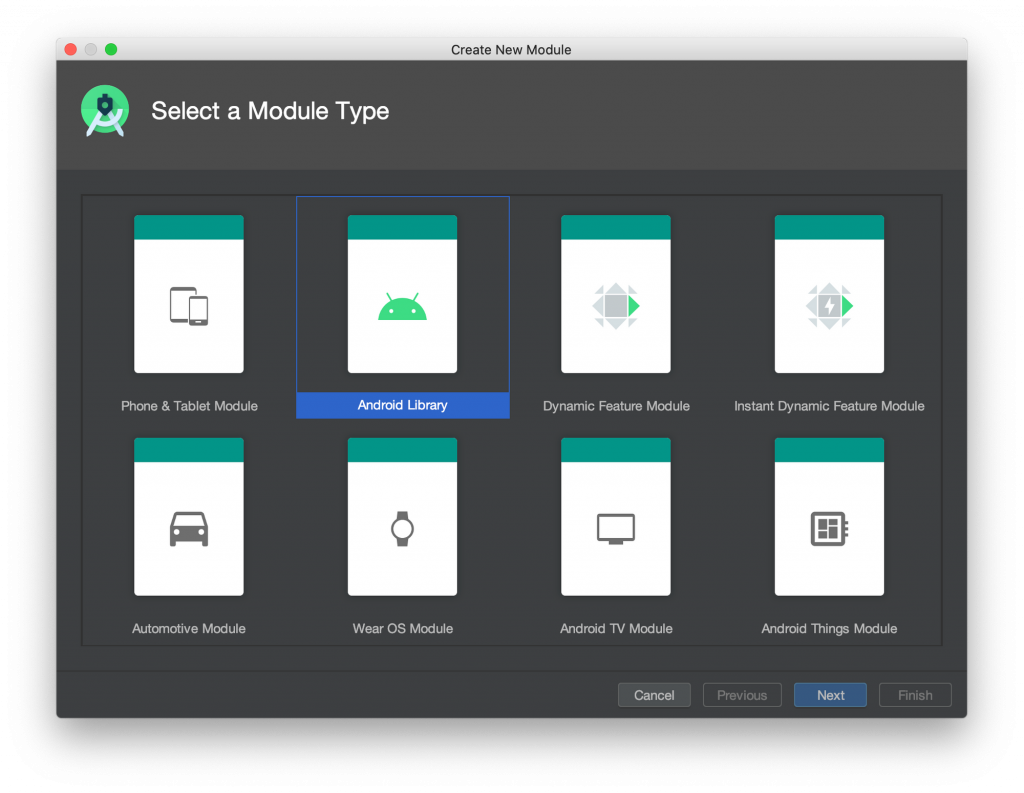
- Enter your Library name and Module name → Finish.
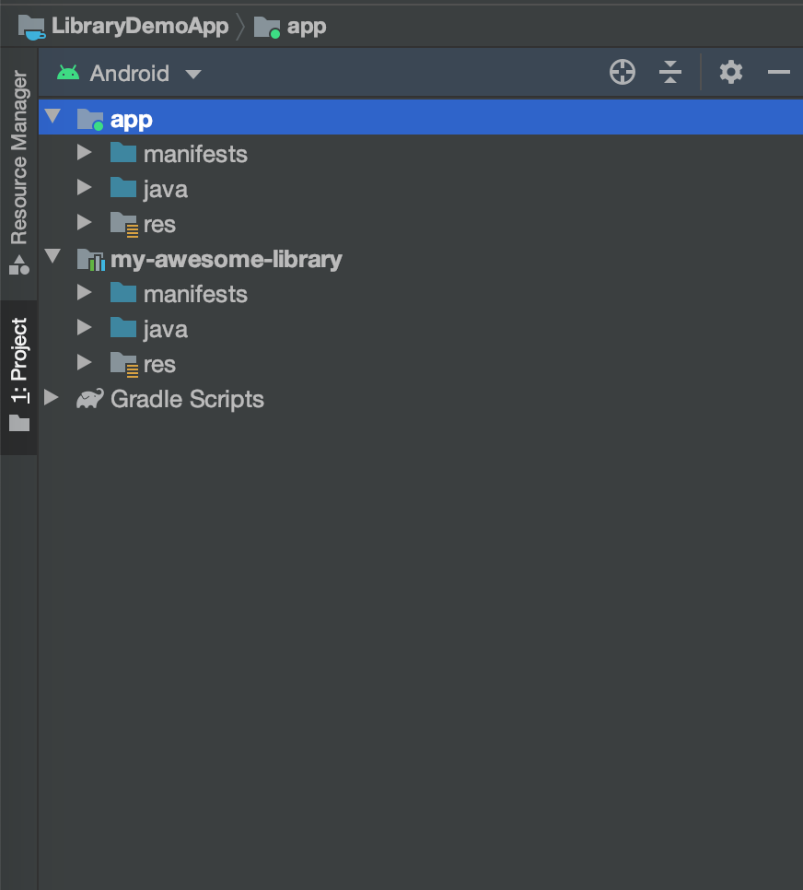
Wow! You've created your first library! Your project structure should look something like this now.
Making your library useful
We will create a simple library for logging your debug logs and messages to the logcat and centralize it in one place where you control it later.
So we will be creating 2 classes: Logger.java, and LoggerImpl.java which has all the logic.
You can check the code from this gist.
After creating your library and adding its classes, you need to test it in our app before publishing to make sure everything is working fine.
In your app's build.gradle file you will need to include the library module by adding it to your app dependencies
And in your app's MainActivity you can use our logger to try logging something to the logcat.
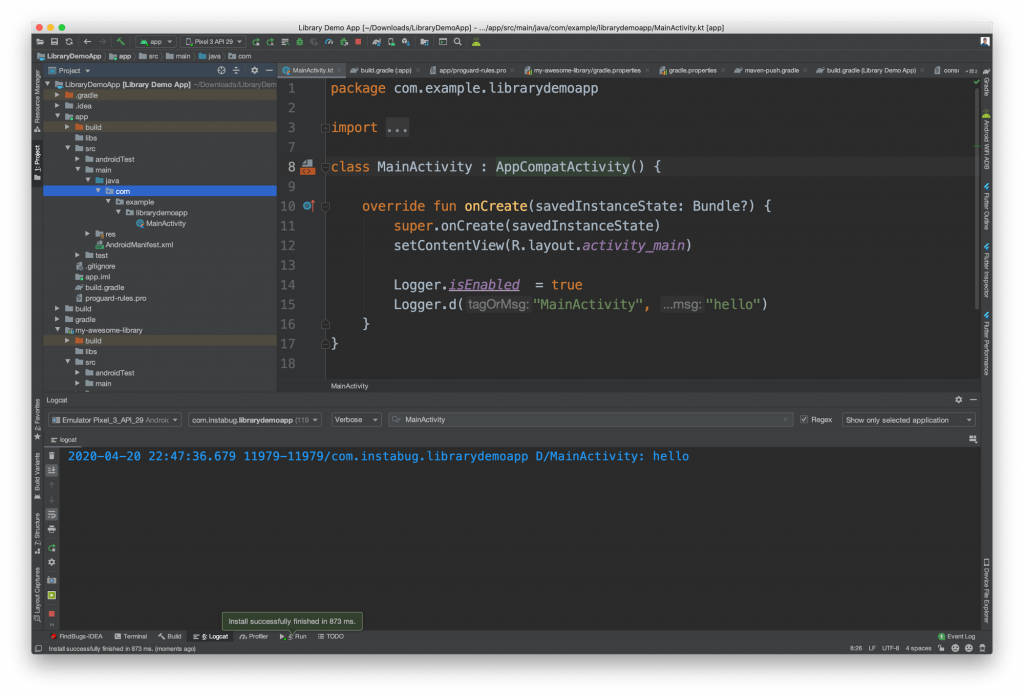
Everything is working fine, so...
Choosing between open-sourcing your library or keeping the source code private is entirely up to your goals, business needs, etc. However, if you would like to keep your library's code private, there are a couple of extra steps we need to do. You can go ahead and skip the next couple of steps if you plan on open-sourcing your library.
1. Enabling Proguard
Distributing your library with a closed source means that no one will be able to see your code. Well, technically, they can but your code will be obfuscated. To learn more, you can check Google's guide here. This will make it hard for anyone to understand your source code or reverse engineer it.
To enable Proguard, go to your app's build.gradle file → set minifyEnabled to true
2. Keeping your public interfaces.
Proguard will obfuscate your code, so it will be renaming your classes and you will run into some build/runtime errors saying that your library classes are not found. To solve this you will always need to keep your library's public APIs away from obfuscation. This is easily done by adding these classes to proguard-rules.pro file.
1. Choosing a repository manager
There are many types of maven repository managers like Apache Center, JFrog Artifactory, Sonatype Nexus, etc. In this tutorial, we will be using Sonatype which is free and self-hosted so we can host it on our servers. You can download it here. We chose a self-hosted solution to give you the flexibility of hosting your library privately without having to subscribe to a paid service.
2. Downloading & running it
After downloading and extracting the .tgz file, you can run the following command to start the repository on your local machine.
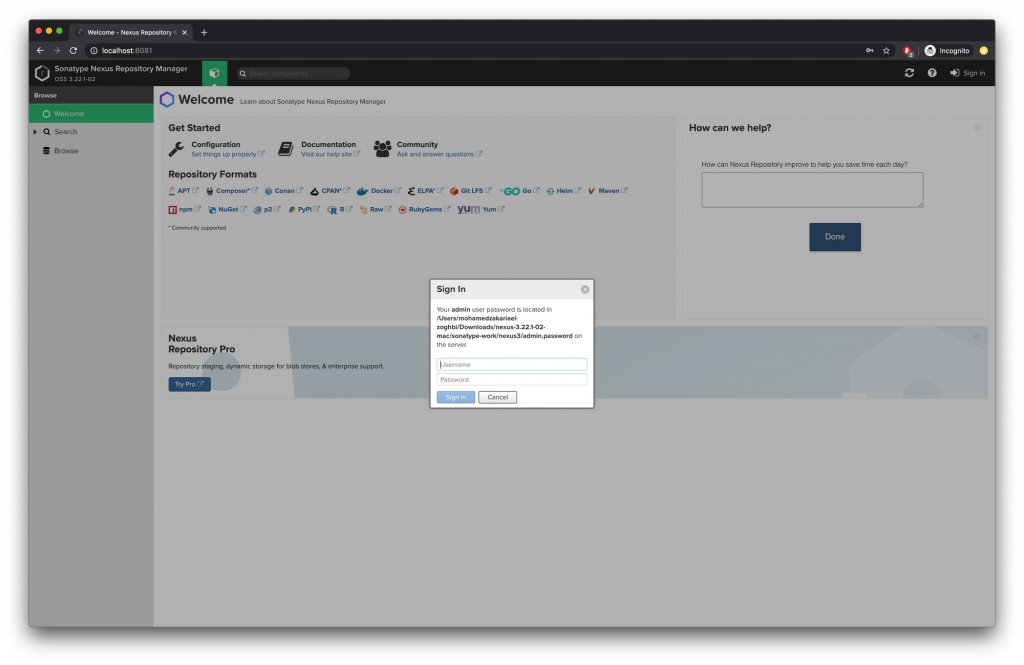
After seeing "starting nexus" in your console, go to http://localhost:8081/ and you should see something like this.

3. Setting it up
Let's sign in and start to play around with it. You will be asked for your username and password. The default username will be admin and the password will be provided in the given path.
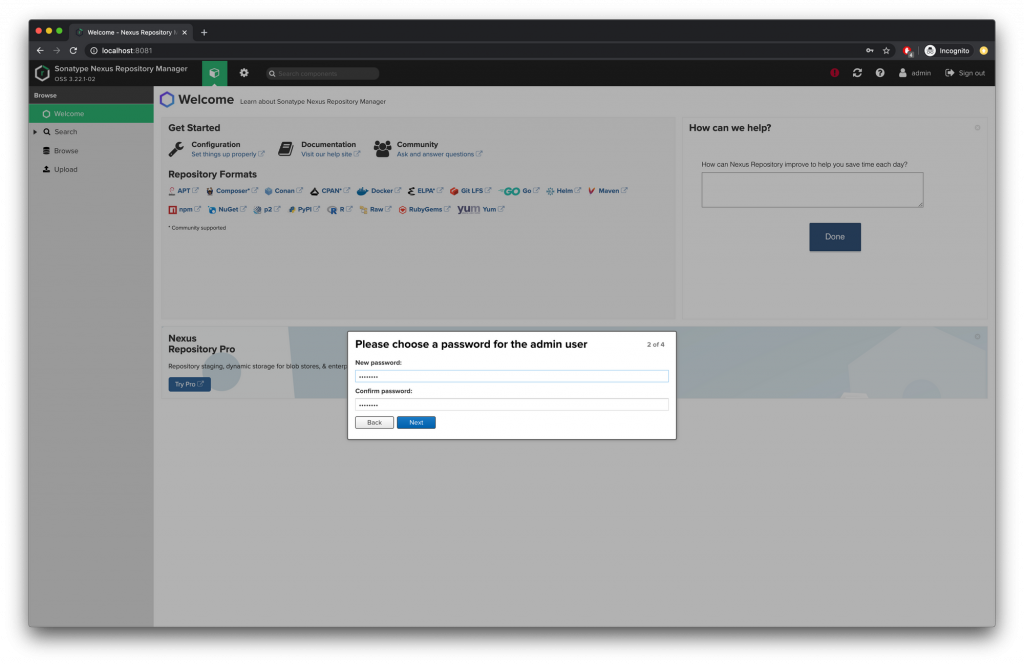
You will then be asked to change the password so enter your new password and press Next.
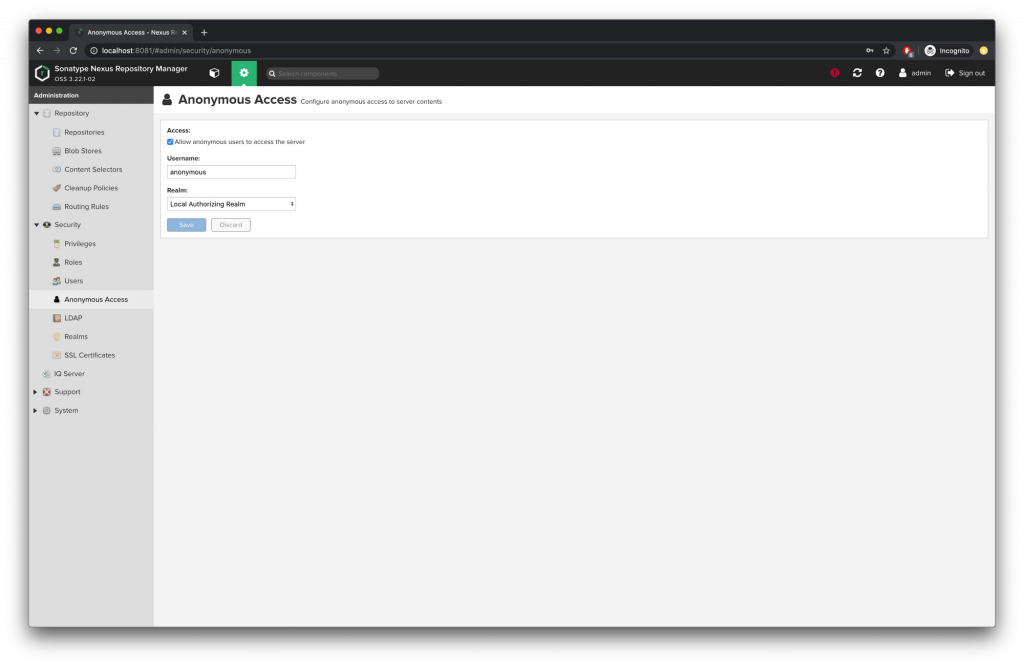
You will now be asked if you want to enable anonymous access, you can enable it for now.
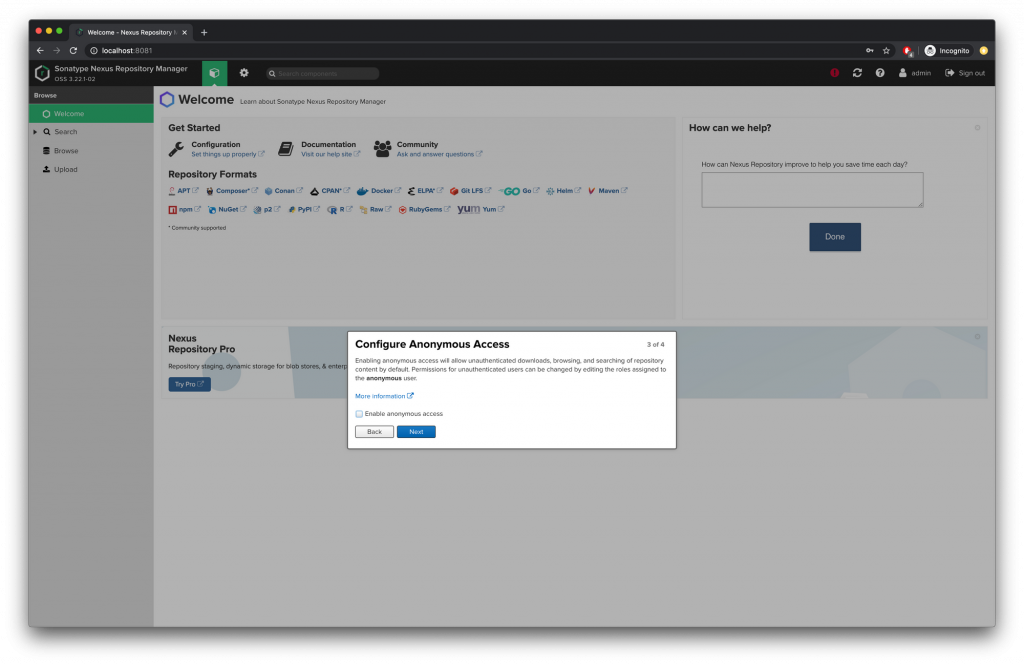
With this, you are done configuring your Nexus Repository.
This Repository manager can contain multiple repositories so you can have different repositories for public releases, snapshots, internal builds, etc. Design it as you see fit.
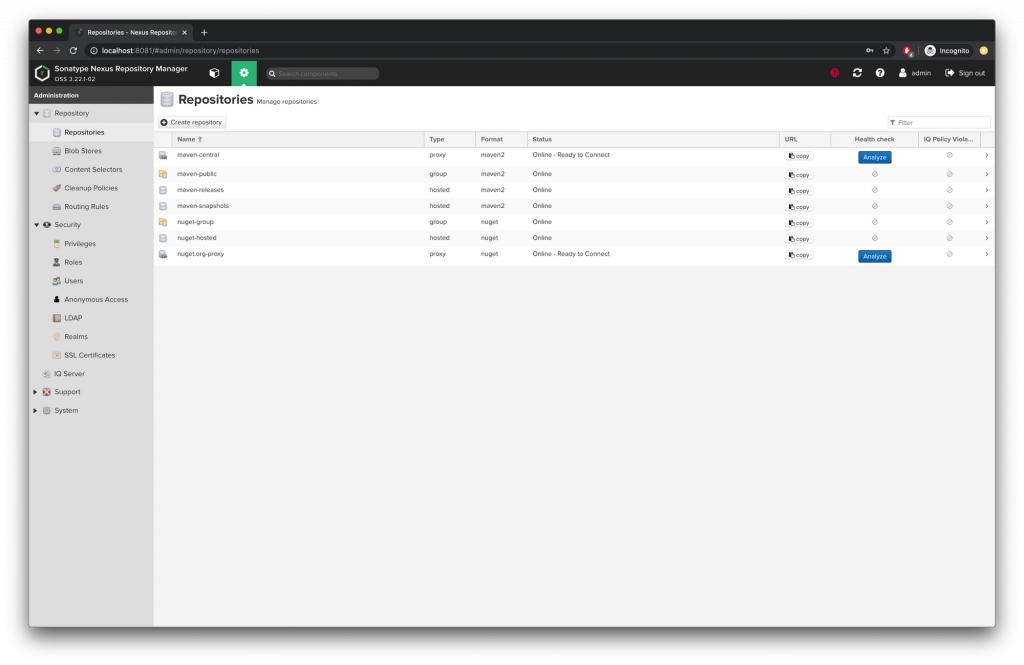
Let’s keep it simple and use one of the predefined repositories to publish your library. Get the repository release URL by clicking on Settings from the top bar, then clicking on Repositories from the side-bar then clicking on `maven-releases`.
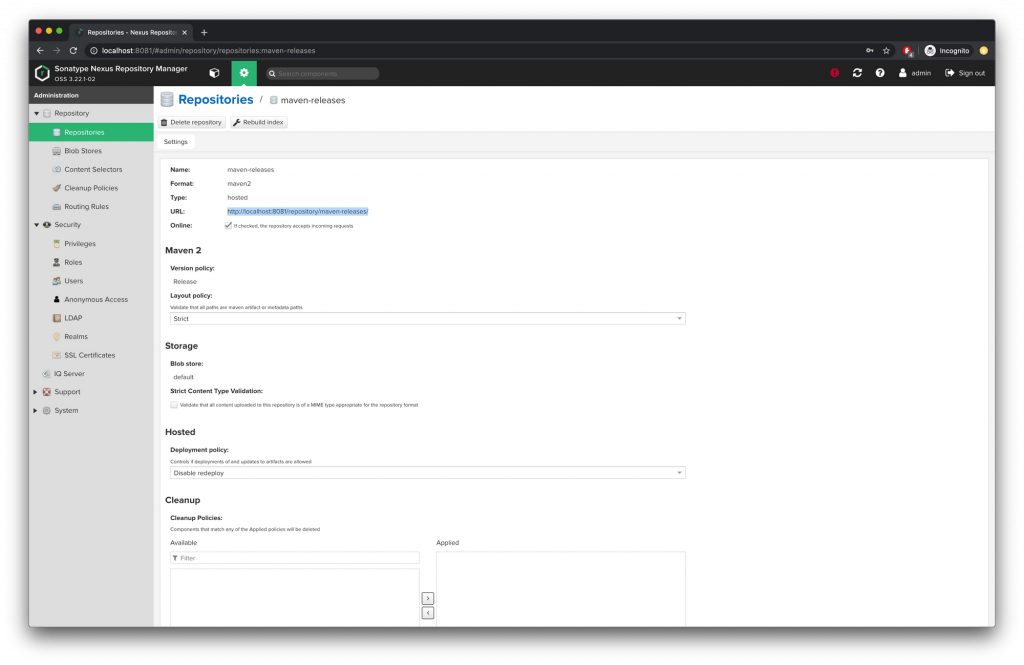
Now you have a URL to publish your library to http://localhost:8081/repository/maven-releases/. So, what's next?
You need to get back to your library and make some changes.
4. Configuring our library
In the library module, create a new file with the name gradle.properties and add the following keys to it.
Then create a file called maven-push.gradle in your library module and add the following code to it.
Then in your project root folder add the following key values to the gradle.properties file.
And the final step is to add the next line to the end of your module's build.gradle file.
You are now ready to deploy your library.
To release the first version of the library, you will need to run this command from your terminal in the project.
If everything goes well, you should see "BUILD SUCCESSFUL". This means that your library has been deployed and is ready to be used.
Back to the sample app build.gradle file
1. Comment implementation project(':my-awesome-library')
2. Add implementation("com.example.my-awesome-library:my-awesome-library:1.0")
3. Add your repository URL to your repositories
so your build.gradle file should look something like this
After syncing your project and running everything should work fine without issues.
Wait!
What if you want to host this library privately and don't want anyone to consume it? Easy, in your maven central go to Settings → from the side menu, select Anonymous Access → then uncheck Allow anonymous users to access the server → Save and you are done. This will prevent any anonymous access to your library.
To consume it you will need to add the username and password to your maven closures.
That's all there is to it. In this tutorial, we have covered all the steps you need to take to create an Android library and distribute it at scale publicly or privately. Now you are ready to share your awesome library with the world!
Want to try our latest AI features?
Sign up to the closed beta now
Oops! Something went wrong while submitting the form.
Learn more:
- Our Android Team's Guidelines for Developing an SDK
- Key Performance Optimization Strategies for Your Android App: Part 1
- How to Fix the Top 5 Android Crashes
- SDK Development Stories: Interviews With Our Developers
Instabug empowers mobile teams to maintain industry-leading apps with mobile-focused, user-centric stability and performance monitoring.
Visit our sandbox or book a demo to see how Instabug can help your app


