Join CTO Moataz Soliman as he explores the potential impact poor performance can have on your bottom line. 👉 Register Today

ebook icon

Engineering

General

Create UIViews Constraints Programmatically Using PureLayout

Today, we’ll walk you through how to create constraints programmatically by building a simple mobile application’s UI completely in code without the use of Storyboards or NIBs. We will not go into the debate of which is better because, simply, they all have their pros and cons.

In part two of this PureLayout tutorial, we create some of the most used mobile app UI elements in code, including a nav bar, table view, and dynamically-sized cells.

‍

Overview

‍

This tutorial was written using Xcode 9 and Swift 4. we also assume that you’re familiar with Xcode, Swift, and CocoaPods.

Without further delay, let’s start building our project: a simple Contact Card application. This tutorial aims to teach you how to create constraints programmatically and build your application’s UI in code, and as such, it will not contain any logic about the application’s functionality unless it serves this tutorial’s purpose.

‍

Creating Constraints Programmatically with PureLayout

‍

Setting up the project

Start by firing up Xcode -> "Create a New Xcode Project". Select "Single View App" and press "Next".

‍

create constraints programmatically

‍

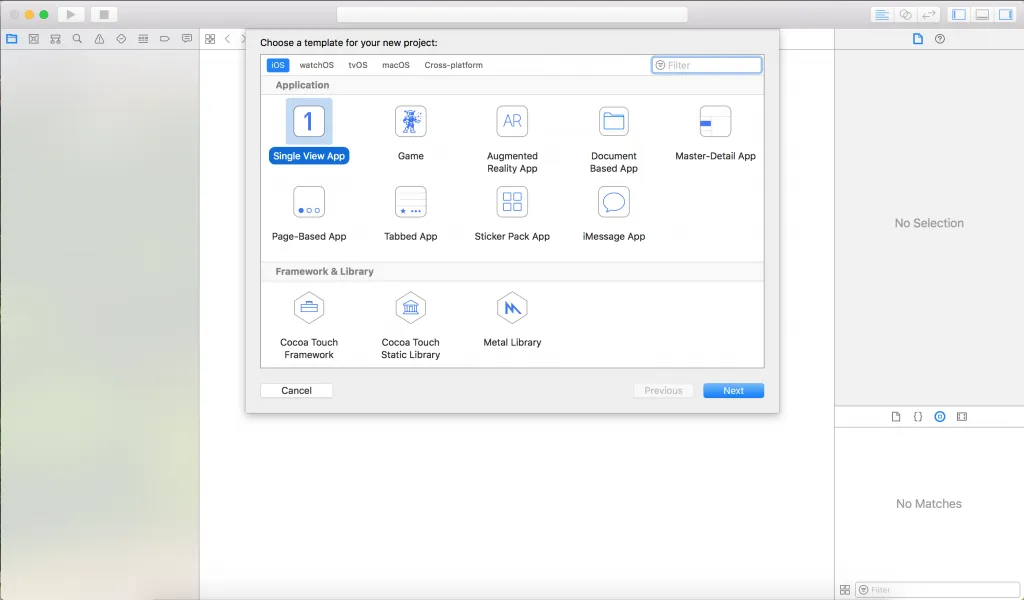
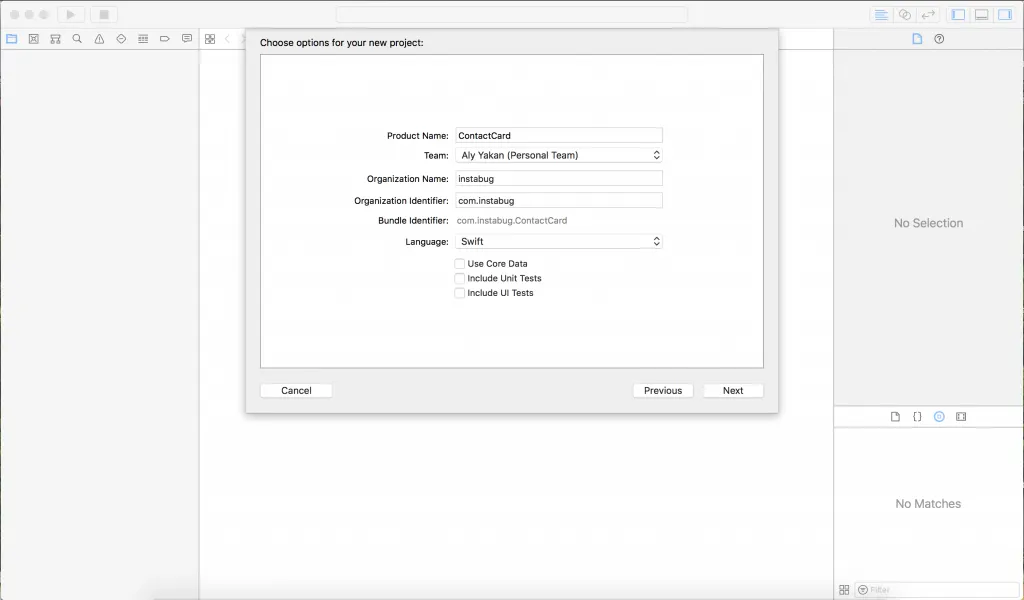
Name the project anything you’d like, I chose to call it "ContactCard", for no obvious reasons. Untick all three options below and, of course, choose Swift to be the programming language, then press "Next".

‍

UiViews Constraints Programmatically

‍

Choose a location on your computer to save the project. Uncheck "Create Git Repository on my Mac" and press "Create".

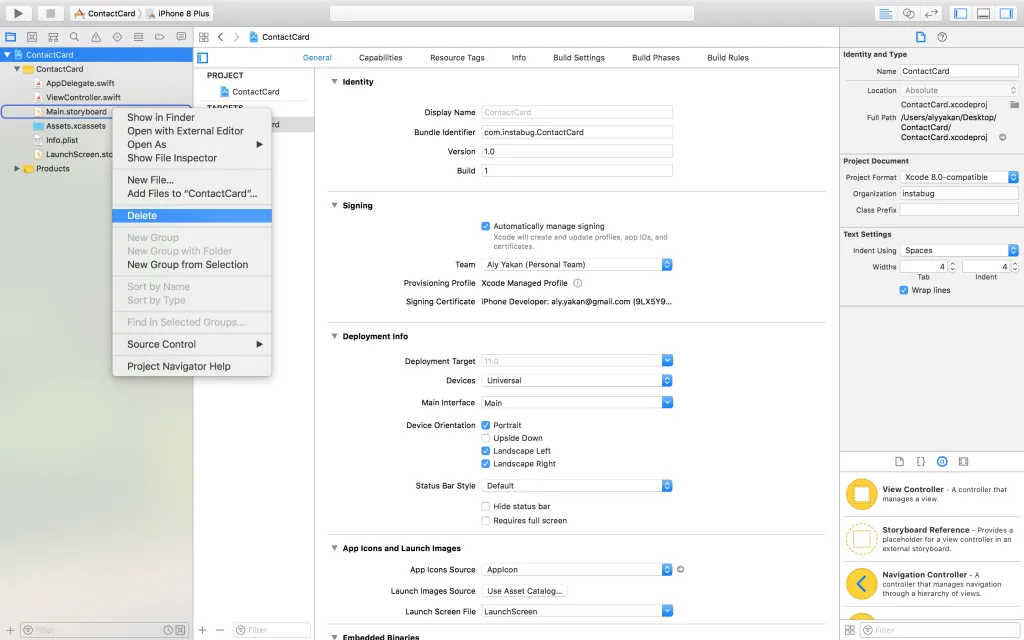
Since we won’t be using Storyboards, or NIBs for that matter, go ahead and delete "Main.storyboard", which can be found in the Project Navigator here:

‍

create constraints programmatically

‍

After that, click on the project in the Project Navigator and under the "General" tab find the section that says "Deployment Info" and delete whatever’s written next to "Main Interface", usually it is the word "Main". This is what tells Xcode which Storyboard file to load with the application startup, but since we just deleted "Main.storyboard", leaving this line would crash the app since Xcode would not find the file.

‍

UiViews Constraints Programmatically

‍

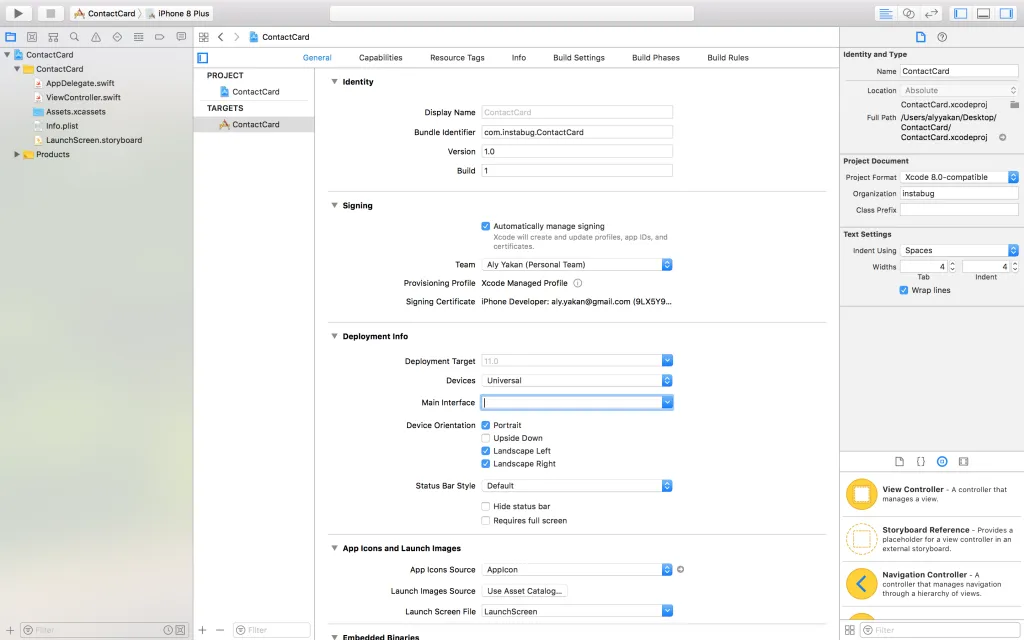
So go ahead and delete the word "Main".

‍

Creating ViewController

At this point, if you run the application, a black screen will appear as the application now does not have any source of UI to present for the user, so the next part is where we will provide it with one. Open “AppDelegate.swift” and inside application(_ application: UIApplication, didFinishLaunchingWithOptions launchOptions: [UIApplicationLaunchOptionsKey: Any]?), insert this snippet of code:

‍


‍

What this does is basically provide a window for the user’s interaction with the application. This window’s view controller is the one provided with the project on creation, which can be found in “ViewController.swift”. Just as a quick test that everything’s working, head to “ViewController.swift” and inside the viewDidLoad() method, insert the following line:

‍


‍

Now run the application on your preferred simulator device.

A useful shortcut to navigate between files in Xcode is "⇧⌘O" and then typing the file’s name or even a piece of code that you’re looking for and a list of files will come up on the screen from which you can choose.

After running the application, this should be the result on your simulator’s screen:

‍

‍

Of course we won’t use that hideous blue so just turn the background back to white by replacing .blue with .white inside viewDidLoad().

‍

Laying out the UI

To help create constraints programmatically, we’ll be using a very helpful library that will make our lives so much easier. Its repo can be found at https://github.com/PureLayout/PureLayout. To install PureLayout, you should first open up your terminal and “cd” into the project’s directory. You can do this by typing cd, then a space, then drag and drop your project’s folder into the terminal and press “Enter”. Now run the following commands inside the terminal:

‍

  1. pod init
  2. pod install

This should be the output of your terminal after running the second command:

‍

purelayout

‍

After that, close Xcode, open the folder inside Finder, and you should find something called “<Your Project Name>.xcworkspace”. This is what we’ll be opening to access our application if we ever need to use CocoaPods. Now locate a file called “PodFile” and write the following line under the phrase use_frameworks!

‍

pod “PureLayout”

‍

Run pod install in your terminal again and then build your project by pressing “Command + B”.

‍

Coffee break

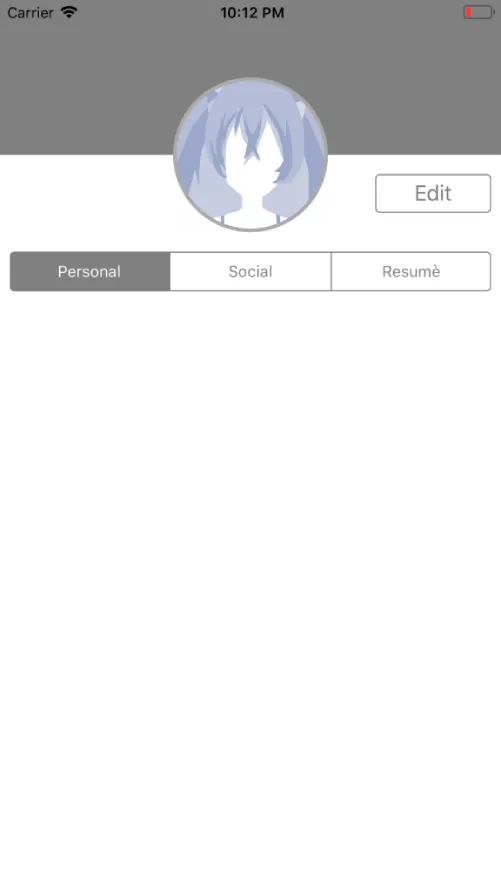
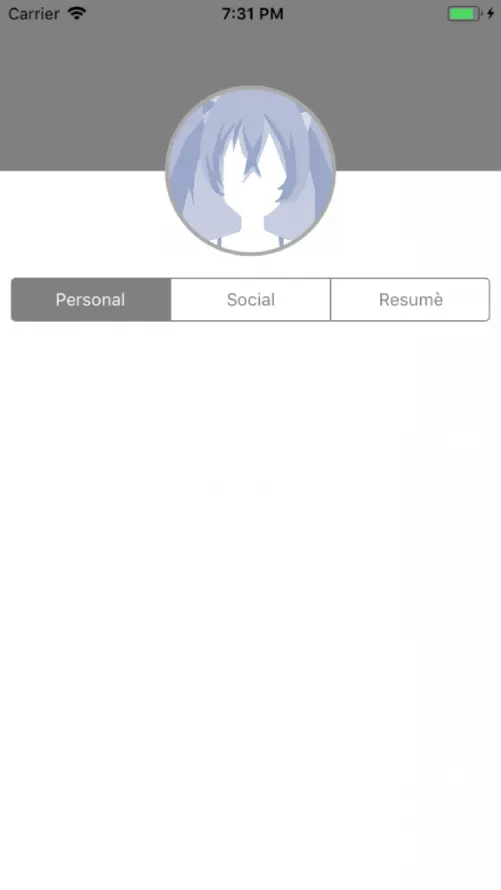
Now that everything is set up, let’s start with the real work. Head over to "ViewController.swift" and grab a cup of coffee because here’s what the final result will look like:

‍

‍

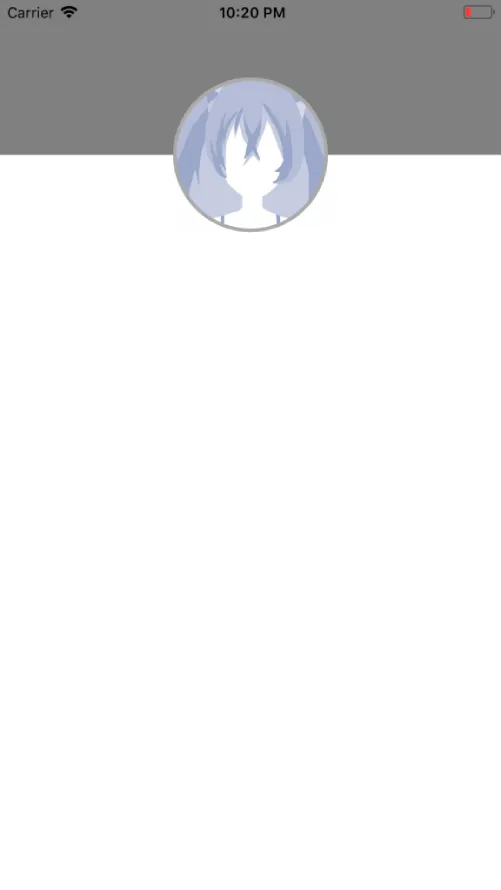
Creating an ImageView

Insert the line import PureLayout underneath import UIKit to be able to use the library in this file. Next, underneath the class declaration and outside of any function, we’ll start by creating the Avatar ImageView lazy variable as follows:

‍


‍

As for the image, get any image on your desktop that you’d like to use as an avatar, draw and drop it in Xcode under <Your Project’s Name> folder, which in our case is "ContactCard", and check on "Copy items if needed".

‍

create constraints programmatically

‍

Then click "Finish". After that, write that file’s name along with its extension inside the declaration of the UIImage instead of “avatar.jpg”.

For those of you who don’t know, lazy variables are like normal variables except they do not get initialized (or allocated any memory space) until they are needed, or being called, for the first time. This means that lazy variables don’t get initialized when the view controller is initialized, but rather they wait until a later point when they are actually needed, which saves processing power and memory space for other processes. These are especially useful in the case of initializing UI components.

‍

PureLayout in action

As you can see inside the initialization, this line imageView.autoSetDimensions(to: CGSize(width: 128.0, height: 128.0)) is PureLayout in action. With just a single line, we set a constraint for both the height and width of the UIImageView and all the necessary NSLayoutConstraints are created without the hassle of dealing with their huge function calls. If you’ve try to create constraints programmatically, then you must have fallen in love by now with this brilliant library.

To make this image view round, we set its corner radius to half its width, or height, which is 64.0 points. Also, for the image itself to respect the roundness of the image view, we set the clipsToBounds property to true, which tells the image that it should clip anything outside the radius that we just set.

‍

We then move to creating a UIView that will serve as the upper part of the view behind the avatar which is colored in gray. The following lazy var is a declaration for that view:

‍


‍

Adding subviews

Before we forget, let’s create a function called func addSubviews() that adds the views we just created (and all the other views that we’re going to create) as subviews to the view controller’s view:

‍


‍

And now add the following line to viewDidLoad() : self.addSubviews()

‍

Setting up constraints
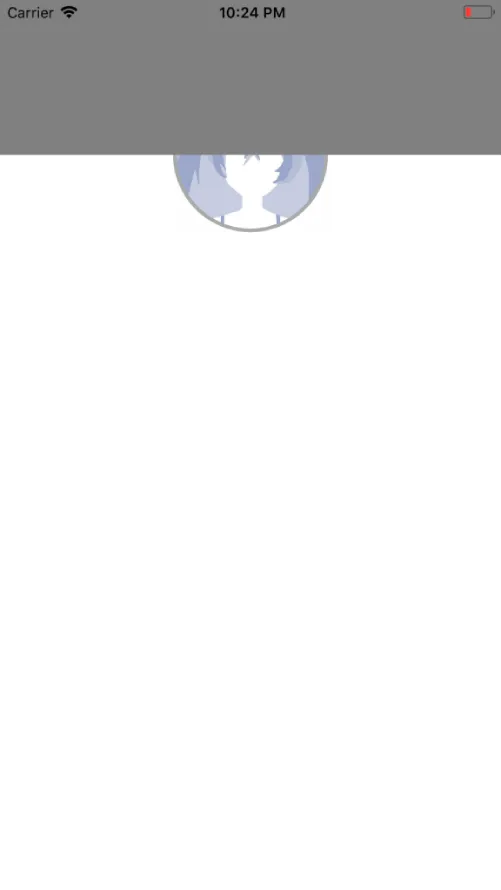
Just to get a picture of how far we are, let’s setup the constraints for these two views. Create another function called func setupConstraints() and insert the following constraints:

‍


‍

Now inside viewDidLoad() call setupConstraints() by adding its function call as follows: self.setupConstraints(). Add this AFTER the call to addSubviews(). This should be the final output:

‍

‍

Bring to front

Oops, that doesn’t seem right. As you can see, our upperView lays on top of the avatar. This is because we added avatar as a subview before upperView, and since those subviews are arranged in a stack of some sort, then it is only natural to see this result. To fix this, we can just replace those two lines with each other, but there is also another trick that I want to show you, which is: self.view.bringSubview(toFront: avatar).

This method will bring the avatar all the way from the bottom of the stack right back to the top, no matter how many views there were above it. So choose whichever method you’d like. Of course for readability, it’s better to add the subviews in the order that they should appear above the other, if they would ever happen to intersect, while keeping in mind that the first added subview will be at the bottom of the stack and so any other intersecting view will appear on top of it.

And this is how it should really look like:

‍

‍

Creating segmented control

Moving on, we’ll now create the segmented control, which is the gray bar that contains three sections. Creating the segmented control is actually simple. Just do the following:

‍


‍

I believe everything is clear, the only different thing is that upon initialization we provide it with an array of strings, each string representing one of our desired sections’ title. We also set the selectedSegmentIndex to 0, which tells the segmented control to highlight/choose the first segment upon initialization. The rest is just styling which you can play around with.

Now let’s go ahead and add it as a subview by inserting the following line to the end of func addSubviews( : self.view.addSubview(segmentedControl) and its constraints will be:

‍


‍

Take a moment to wrap your head around these. We tell the segmented control that we want to pin it to the left side of its superview, however, we want a a little bit of spacing instead of sticking it directly to the edge of the screen. If you notice, I’m using what is called an eight-point grid where all spacings and sizes are a multiple of eight. I do the same to the right side of the segmented control. As for the last constraint, it simply says to pin its top to the bottom of avatar with a spacing of 16 points.

‍

After adding the constraints above to func setupConstraints(), run the code and make sure that it looks like the following:

‍

‍

Adding a button

Now comes the last piece of UI for this small tutorial, which is the "Edit" button. Add the following lazy variable:

‍


‍

Don’t be alarmed by how big the initialization is, but pay attention to how I set the title and its color by calling the function button.setTitle and button.setTitleColor. For certain reasons, we cannot set a button’s title by accessing its titleLabel directly and this is because there are different states for a button and many people would find it convenient to have different titles/colors for different states.

Now add the button as a subview like the rest of the components and add the following constraints to have it appear where it is supposed to be:

‍


‍

Here we only set the right and top constraints for the button, and since we gave it a size, it won’t expand and will need nothing else. Now go ahead and run the project to see the final result:

‍

‍

Some Final Notes

‍

This was just a quick tutorial on how to create constraints programmatically, play around, add as many UI elements as you want. Try to re-create any application’s views that you see challenging. Start simple and build up from there. Try to draw the UI components on a piece of paper so you can imagine how they fit together.

In part two, we extend this tutorial to create a navigation bar, table view, and dynamically-sized cells in code.

Learn more:

‍

Instabug empowers mobile teams to maintain industry-leading apps with mobile-focused, user-centric stability and performance monitoring.

Visit our sandbox or book a demo to see how Instabug can help your app

Seeing is Believing, Start Your 14-Day Free Trial

In less than a minute, integrate the Instabug SDK for iOS, Android, React Native, Xamarin, Cordova, Flutter, and Unity mobile apps